GPU benchmarking tools are those tools that help in testing and identifying the performance of graphics processing unit (GPU). It assists in determining the efficiency of a GPU in various activities like gaming, rendering, and any other graphical activities. Here, we’ll discuss the most used tools for benchmarking graphics cards, how the process works, and a tool recommendation.
What is GPU Benchmarking?
Benchmarking is a way of measuring the efficiency of a graphic processing unit through the use of special programs which are designed for the purpose of testing the card. These tests really try to put a lot of strain on the GPU and they often quantify other parameters such as the frame rate, the render time and the throughput. Benchmarking your GPU enables you to classify it together with the other GPUs to establish whether it fits your needs.
Why Benchmark Your GPU?
Performance Evaluation:
Benchmarking can be used to compare your GPU with others to see what it is capable of, or any problems at all.
Comparison:
It helps you how your GPU is performing compared to other models in the market and if it is time to upgrade the GPU.
Optimization:
If you find that your computer can run better in certain applications, benchmarking can help show you what system settings are ideal for your system.
Validation:
It verifies that your GPU is working optimally; this is helpful after upgrading or assembling a new computer.
Popular GPU Benchmarking Tools
Many tools are popularly used, in the benchmarking of the GPU. It therefore has its specialty and would be suitable for people with certain characteristics and expectations.
1. 3DMark

3DMark is one of the most popular GPU benchmarking tools available. It offers a variety of benchmarks tailored to different types of systems, from high-end gaming PCs to tablets and smartphones.
Fire Strike: Designed for high-performance gaming PCs.
Time Spy: A DirectX 12 benchmark for modern graphics cards.
Sky Diver: A mid-range benchmark for gaming laptops and mid-range PCs.
Ice Storm: Suitable for mobile devices and entry-level PCs.
3DMark provides detailed results, including scores for graphics, physics, and combined tests. These scores help you understand how well your GPU performs in different scenarios.
2. Heaven Benchmark

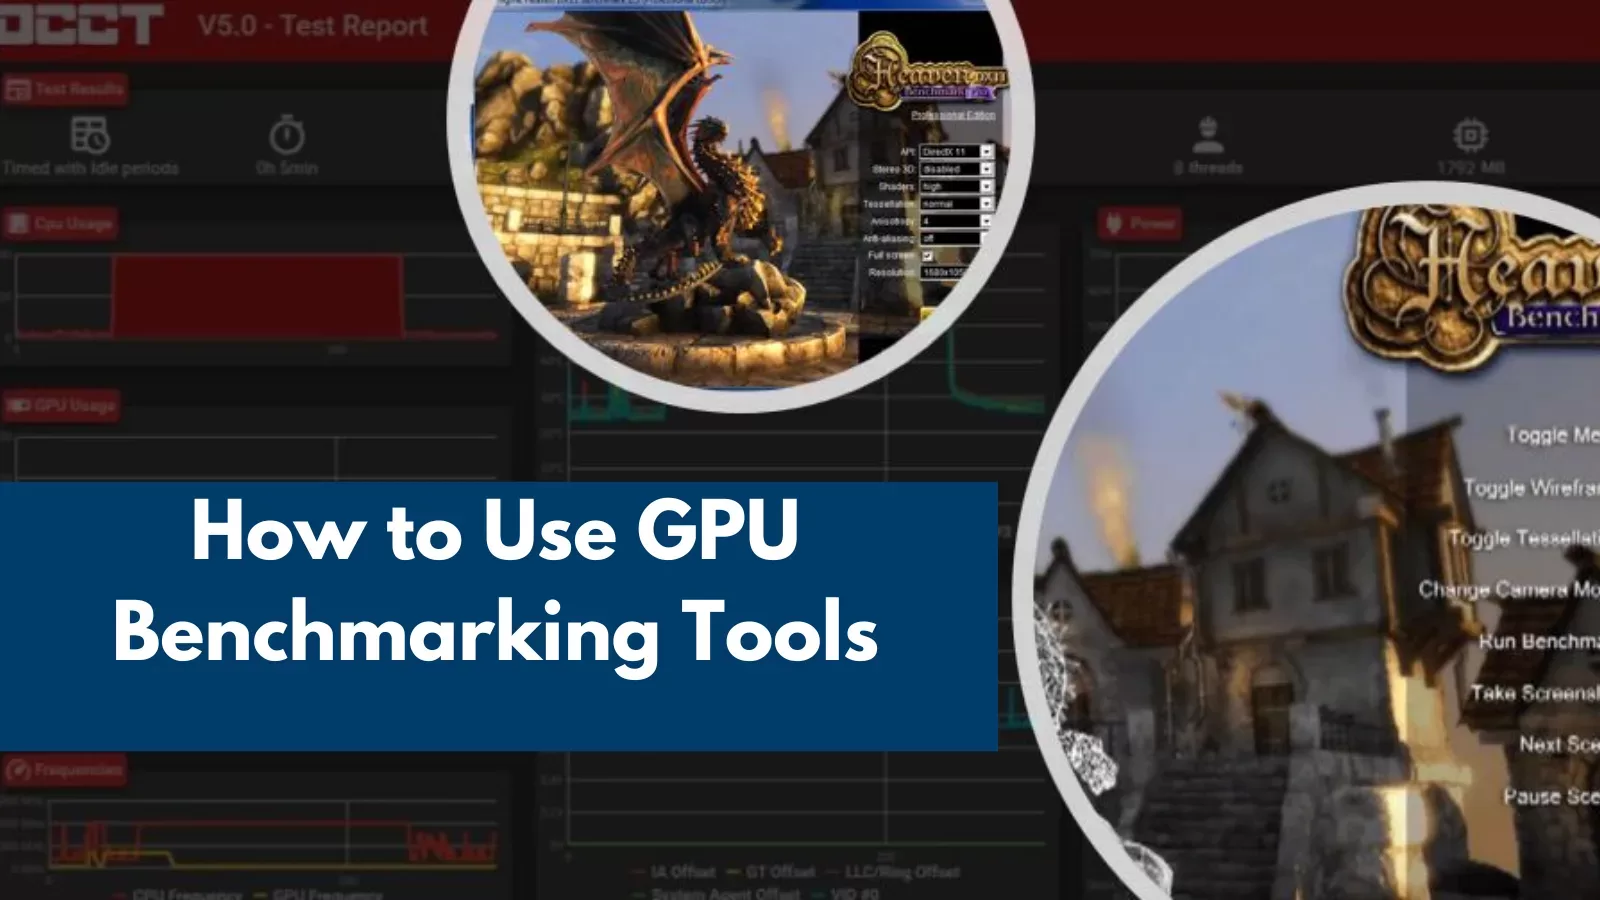
Heaven Benchmark is another popular tool known for its stunning visuals and detailed performance metrics. Developed by Unigine Corp, Heaven Benchmark is particularly useful for stress testing and overclocking.
Features:
DirectX 11 support: Takes full advantage of modern GPU features.
Extreme hardware stability testing: Ideal for overclocking.
Detailed reports: Includes frame rates, GPU temperatures, and more.
3. FurMark
FurMark is a lightweight but powerful GPU benchmarking tool that focuses on stability and stress testing. It’s known for its “torture test” that pushes GPUs to their thermal limits.
Features:
OpenGL benchmark: Ideal for testing OpenGL performance.
Stress test: Helps identify potential overheating issues.
Customizable settings: Allows for specific test configurations.
4. PassMark PerformanceTest
PassMark PerformanceTest offers a comprehensive set of benchmarking tools, including tests for CPU, GPU, RAM, and more. Its GPU-specific tests provide a clear picture of your graphics card’s capabilities.
Features:
DirectX 9, 10, 11, and 12 tests: Covers a wide range of graphics APIs.
2D and 3D tests: Measures both basic and advanced graphics performance.
Comparison charts: Easily compare your results with other systems.
5. GFXBench
GFXBench is a cross-platform benchmarking tool that allows you to test the performance of your GPU on multiple devices, including PCs, smartphones, and tablets.
Features:
Cross-platform: Supports Windows, macOS, iOS, and Android.
Various tests: Includes high-level and low-level tests for different scenarios.
Battery and stability tests: Measures power consumption and stability during intense workloads.
How to Use GPU Benchmarking Tools
Using GPU benchmarking tools is straightforward. Here are the general steps you need to follow:
1. Choose the Right Tool
- Select a benchmarking tool that meets your specific needs. For example:
- For general performance and gaming benchmarks, use 3DMark.
- For stress testing and overclocking, consider Heaven Benchmark or FurMark.
- For comprehensive system benchmarking, PassMark PerformanceTest is suitable.
- For cross-platform testing, use GFXBench.
2. Download and Install
- Visit the official website of the chosen benchmarking tool.
- Download the installer suitable for your operating system.
- Follow the installation instructions to install the tool on your system.
3. Prepare Your System
- Ensure your GPU drivers are up to date. This can significantly affect benchmarking results.
- Close unnecessary applications to ensure the benchmark has maximum resources available.
- For accurate results, set your GPU and CPU to their default settings unless you are testing overclocking performance.
4. Run the Benchmark
- Launch the benchmarking tool.
- Select the appropriate benchmark test based on your requirements (e.g., Fire Strike in 3DMark for high-performance gaming PCs).
- Follow the on-screen instructions to start the test. This typically involves simply clicking a “Run” or “Start” button.
5. Monitor the Test
- While the benchmark is running, monitor the test to ensure there are no issues.
- Some tools, like FurMark, will push your GPU to its thermal limits, so keep an eye on temperatures to prevent overheating.
6. Analyze the Results
- Once the test is complete, the tool will display the results. These results usually include metrics like frame rates, rendering times, scores, and GPU temperatures.
- Detailed results help you understand how well your GPU performs in different scenarios.
7. Compare Results
- Compare your benchmark results with other systems or GPUs to see how your GPU stacks up.
- Use the benchmarking tool’s database (if available) or online resources to find comparable results.
8. Optimize Your System
- Based on the benchmark results, make any necessary adjustments to optimize performance.
- This may involve tweaking graphics settings, overclocking your GPU, or upgrading hardware if your GPU performance is lacking.
9. Repeat as Needed
Benchmarking is not a one-time task. Repeat the benchmarks periodically, especially after making changes to your system, such as installing new drivers, overclocking, or upgrading components.
Final Thoughts
GPU benchmarking tools are invaluable for anyone looking to evaluate their graphics card’s performance. Whether you’re a gamer, a 3D artist, or a tech enthusiast, these tools provide the insights needed to optimize your system and ensure it meets your requirements. By using tools like 3DMark, Heaven Benchmark, FurMark, PassMark PerformanceTest, and GFXBench, you can make informed decisions about upgrades, overclocking, and system configurations.


2 thoughts on “Best Productivity Apps for Windows: Transform Your PC”