Have you ever wanted to test a suspicious program or visit a risky website without putting your system at risk? Windows Sandbox is the perfect solution. It lets you run a separate virtual machine isolated from your main OS, where you can safely experiment with software or sites. And with a simple workaround, you can enable Windows Sandbox on Windows 11 Home or Windows 10 Home editions. In this post, we’ll show you how to do that and why Sandbox is a useful security tool.
Let’s get started exploring this invaluable tool for securely assessing unfamiliar software.
Listen to Our Podcast: How to Enable Windows Sandbox on Windows 10/11 Home Editions
✅ QUICK ANSWER:
First, create a batch file named “Sandbox.bat” with the necessary code 📝. After saving it 💾, run the file as an administrator ⏩. When prompted, allow the program to make changes to your system ✅. Wait for the installation to complete ⏳. Once done, restart your computer 🔄. After the reboot, Sandbox will be ready for use 🎉.
What is Windows Sandbox?
Windows Sandbox provides an isolated desktop environment where you can:
- Safely test out untrusted or suspicious applications
- Try software without complex installation
- Browse online worry-free as all history gets deleted after
It works by spinning up a temporary virtual machine separate from your main OS. This VM runs a clean instance of Windows 10 or 11. You get full functionality to test programs or visit sites, without risk to your personal files or system settings.
Once you close Windows Sandbox, the entire OS and any files created inside are permanently deleted. It’s as if the testing never happened!
 1")
System Requirements to Run Windows Sandbox
To use Windows Sandbox on Windows 10 Home or Windows 11 Home, your system needs:
- 4GB RAM (8GB+ recommended)
- 1GB free HDD space (SSD recommended for speed)
- 2 CPU cores minimum (4 preferred)
- Virtualization enabled in BIOS
As long as your device meets these and is updated, you can enable Windows Sandbox.
Now let’s get into the installation walkthrough.
Step-by-Step Guide to Install Sandbox on Home
Follow these steps to activate and install Windows Sandbox on Home editions of Windows 10 and 11:
Step 1: Create the .bat File
First, you’ll create a simple batch file that will run commands to set up the necessary files for Sandbox.
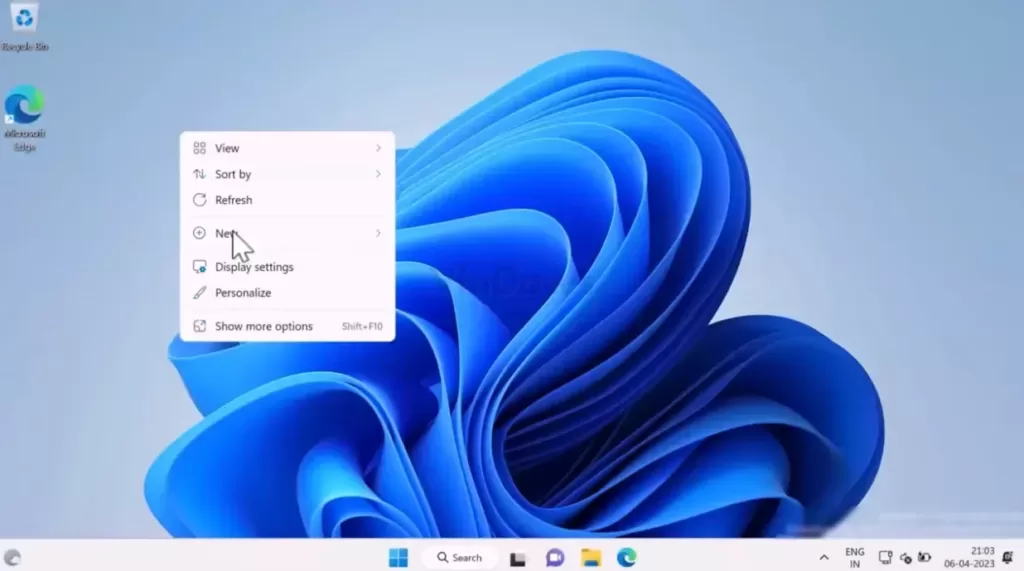
Right-click on the desktop and choose New > Text Document.
Open the blank text document and paste the following code:
@echo off

echo Checking for permissions
>nul 2>&1 "%SYSTEMROOT%\system32\cacls.exe" "%SYSTEMROOT%\system32\config\system"

echo Permission check result: %errorlevel%

REM --> If error flag set, we do not have admin.
if '%errorlevel%' NEQ '0' (
echo Requesting administrative privileges...
goto UACPrompt
) else ( goto gotAdmin )

:UACPrompt
echo Set UAC = CreateObject^("Shell.Application"^) > "%temp%\getadmin.vbs"
echo UAC.ShellExecute "%~s0", "", "", "runas", 1 >> "%temp%\getadmin.vbs"

echo Running created temporary "%temp%\getadmin.vbs"
timeout /T 2
"%temp%\getadmin.vbs"
exit /B

:gotAdmin
if exist "%temp%\getadmin.vbs" ( del "%temp%\getadmin.vbs" )
pushd "%CD%"
CD /D "%~dp0"

echo Batch was successfully started with admin privileges
echo .
cls
Title Sandbox Installer

pushd "%~dp0"

dir /b %SystemRoot%\servicing\Packages\*Containers*.mum >sandbox.txt

for /f %%i in ('findstr /i . sandbox.txt 2^>nul') do dism /online /norestart /add-package:"%SystemRoot%\servicing\Packages\%%i"

del sandbox.txt

Dism /online /enable-feature /featurename:Containers-DisposableClientVM /LimitAccess /ALL

pause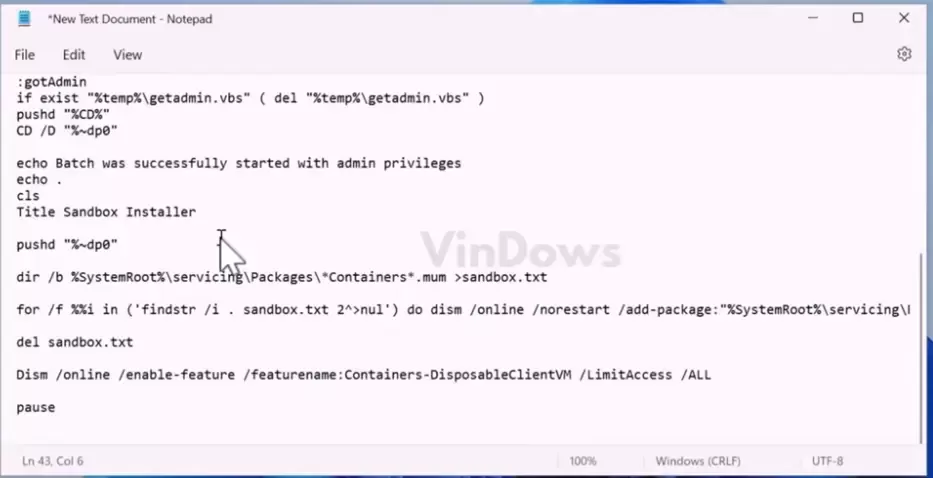
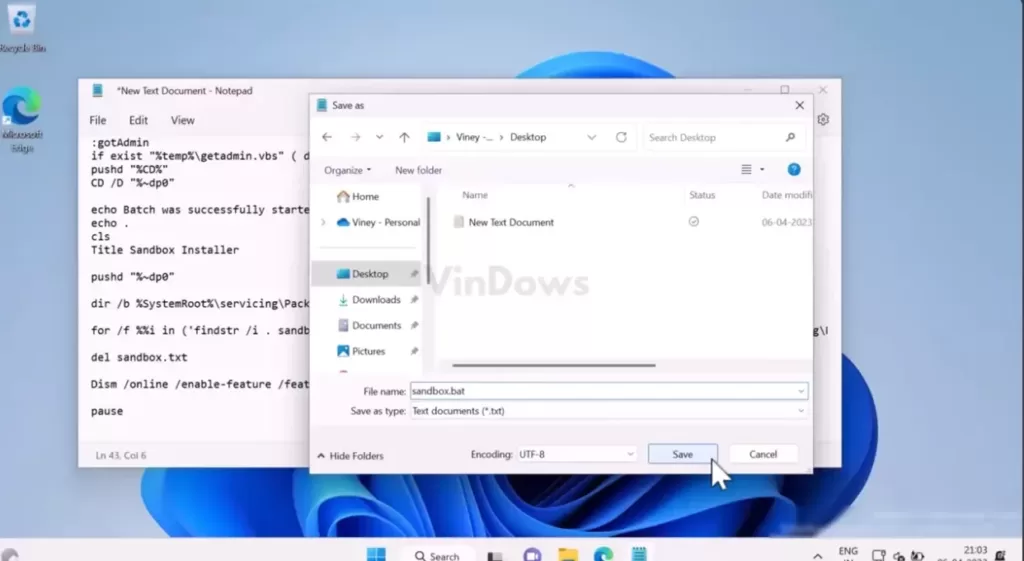
Once pasted, click File > Save As and pick a location like your desktop. Name the file “Sandbox.bat” and choose “All Files” for the type. This will save it with the correct .bat extension.
You should now have the Sandbox.bat file on your desktop or chosen location.
Step 2: Run the .bat as Administrator
Next, we need to run the batch file with admin privileges to begin installing Sandbox.
Right-click on Sandbox.bat and choose Run as administrator.
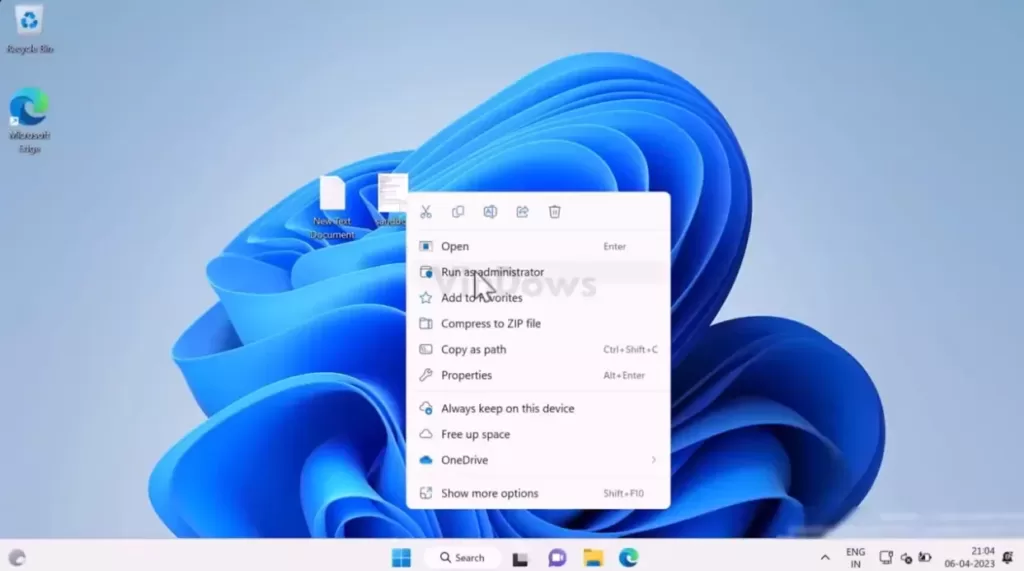
When the Windows User Account Control prompt appears, click Yes to confirm you want to allow the program to make changes.
This will open a command prompt window that runs through the installation process. You’ll see various files and components flashing by – this is normal. Let it proceed until completed.
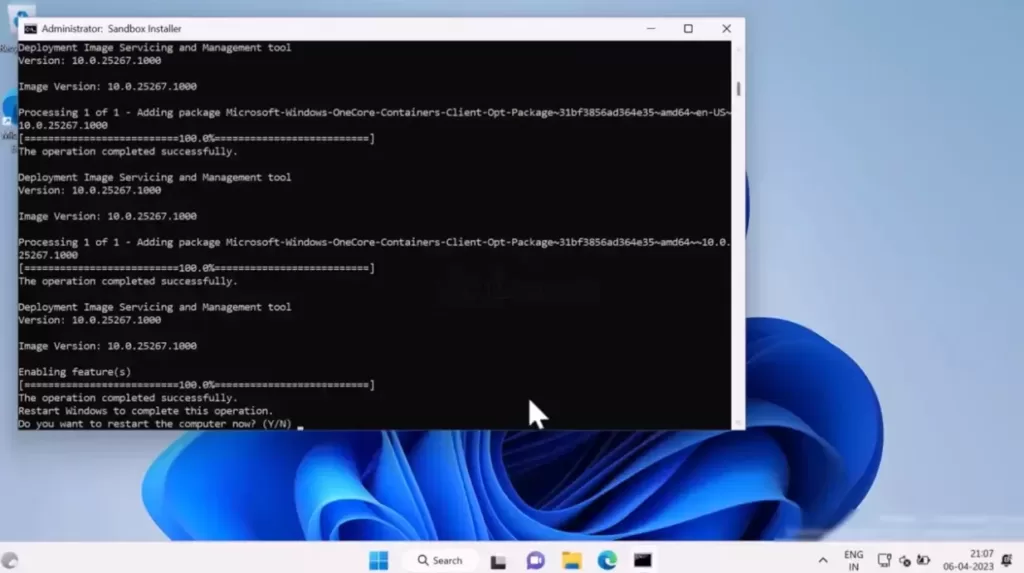
Step 3: Restart Your System
Once the installation completes, you’ll be prompted to restart your computer. Type the command prompt window that runs through the installation process and hit enter to confirm the restart.
Allow your system to reboot fully. When it finishes and you’re back to the desktop, Sandbox will now be ready to use!
Accessing Windows Sandbox on Home Edition
With the batch file installation complete, you can now access Windows Sandbox on a Home edition of Windows 10 or 11 just like on Pro.
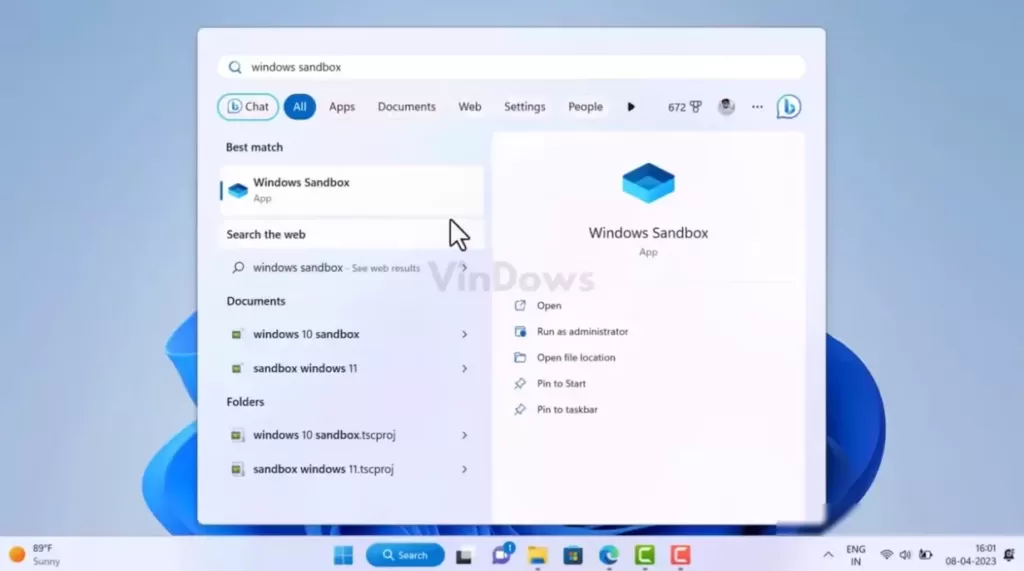
To open your new virtualized environment:
- Search for “Sandbox” in the start menu
- Click the Windows Sandbox app icon when it appears
- Allow 1-2 minutes the first time for it to initialize
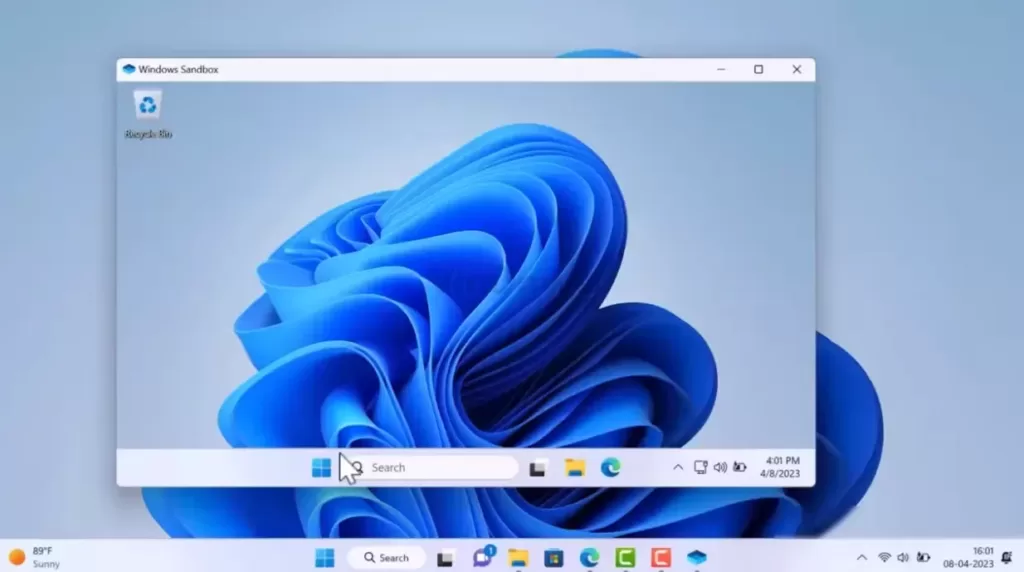
You’ll now have a separate desktop to test software, browse the web, and do anything else without worrying about consequences!
When you’re finished, simply exit Sandbox like any other application. As soon as the window closes, the entire environment is permanently wiped.
Be sure to only use Sandbox when you won’t be actively using your host system, to prevent potential data loss when the virtual OS resets.
How Does Windows Sandbox Work?
Windows Sandbox is based on the technology of virtualization, which allows you to create and run multiple operating systems on the same hardware. Virtualization creates a layer of abstraction between the physical hardware and the software so that each virtual machine (VM) can have its resources and settings.
Windows Sandbox uses a special type of virtualization called container-based virtualization. This means that Windows Sandbox shares the same kernel and system files as your main OS, but it runs in a separate container that isolates it from the rest of the system. This makes Windows Sandbox faster and more efficient than a traditional VM, as it does not need to boot up a new OS or allocate a lot of memory and disk space.
Windows Sandbox also uses a feature called dynamic base image. This means that Windows Sandbox uses a copy of the system files from your main OS, but it only writes the changes to a temporary location. This way, Windows Sandbox always runs a clean and updated version of Windows 10 or 11, and it does not consume a lot of disk space.
Windows Sandbox also uses a feature called integrated graphics. This means that Windows Sandbox can leverage the graphics capabilities of your main OS, such as DirectX 12 and WDDM 2.5. This allows Windows Sandbox to run graphics-intensive applications and games with high performance and quality.
How to Use Windows Sandbox Effectively
Now that you have Windows Sandbox installed on your system, you might be wondering how to use it effectively. Here are some tips and tricks to help you get the most out of Windows Sandbox:
- Use Windows Sandbox for testing software or sites that you are not sure about. For example, if you want to try a new app or game, but you are worried about malware or compatibility issues, you can use Windows Sandbox to test it without affecting your main OS. Or, if you want to visit a website that you are not familiar with, but are concerned about privacy or security, you can use Windows Sandbox to browse it without leaving any traces.
- Use Windows Sandbox for temporary tasks that you don’t want to keep. For example, if you need to open a file that you don’t trust, or you need to fill out a form that you don’t want to save, you can use Windows Sandbox to do it and then discard it when you are done.
- Use Windows Sandbox for learning and experimenting. For example, if you want to learn a new skill or try a new feature, but are afraid of messing up your main OS, you can use Windows Sandbox to practice and explore without any consequences.
- Use Windows Sandbox for fun and entertainment. For example, if you want to play a game or watch a video that you don’t want to install or download, you can use Windows Sandbox to enjoy it and then delete it when you are done.
Why is Windows Sandbox Useful?
There are a few key benefits that make Windows Sandbox an invaluable tool:
#1 Security:
Running questionable software in an isolated environment minimizes the chance of infections or corruption. Bugs and crashes stay contained.
#2 Convenience:
You don’t need to go through complex installs to try out programs. Windows Sandbox sets up quickly with no configuration.
#3 Privacy:
Browsing in the virtualized desktop means your history and data don’t stick around after closing. You leave no trace.
For developers, IT professionals, or anyone cautious about evaluating unfamiliar software, Windows Sandbox is a game changer for security.
Conclusion
By integrating Windows Sandbox into your system, you’re equipping yourself with a robust tool that offers a secure environment to assess unfamiliar software and surf the web without any enduring consequences. The steps outlined above make this powerful feature accessible even to Windows Home users, extending the advantages of virtualization security to a broader audience.
So, what’s next? Perhaps there’s a dubious program you’ve been hesitant to try or a website you’ve been wary of visiting. With Windows Sandbox, you can explore these with ease and assurance, knowing your main system remains untouched. It’s a simple yet effective solution for maintaining peace of mind in the digital world. Enjoy your risk-free exploration! 🌐🔒

")


: Key Differences and Use Cases")


