
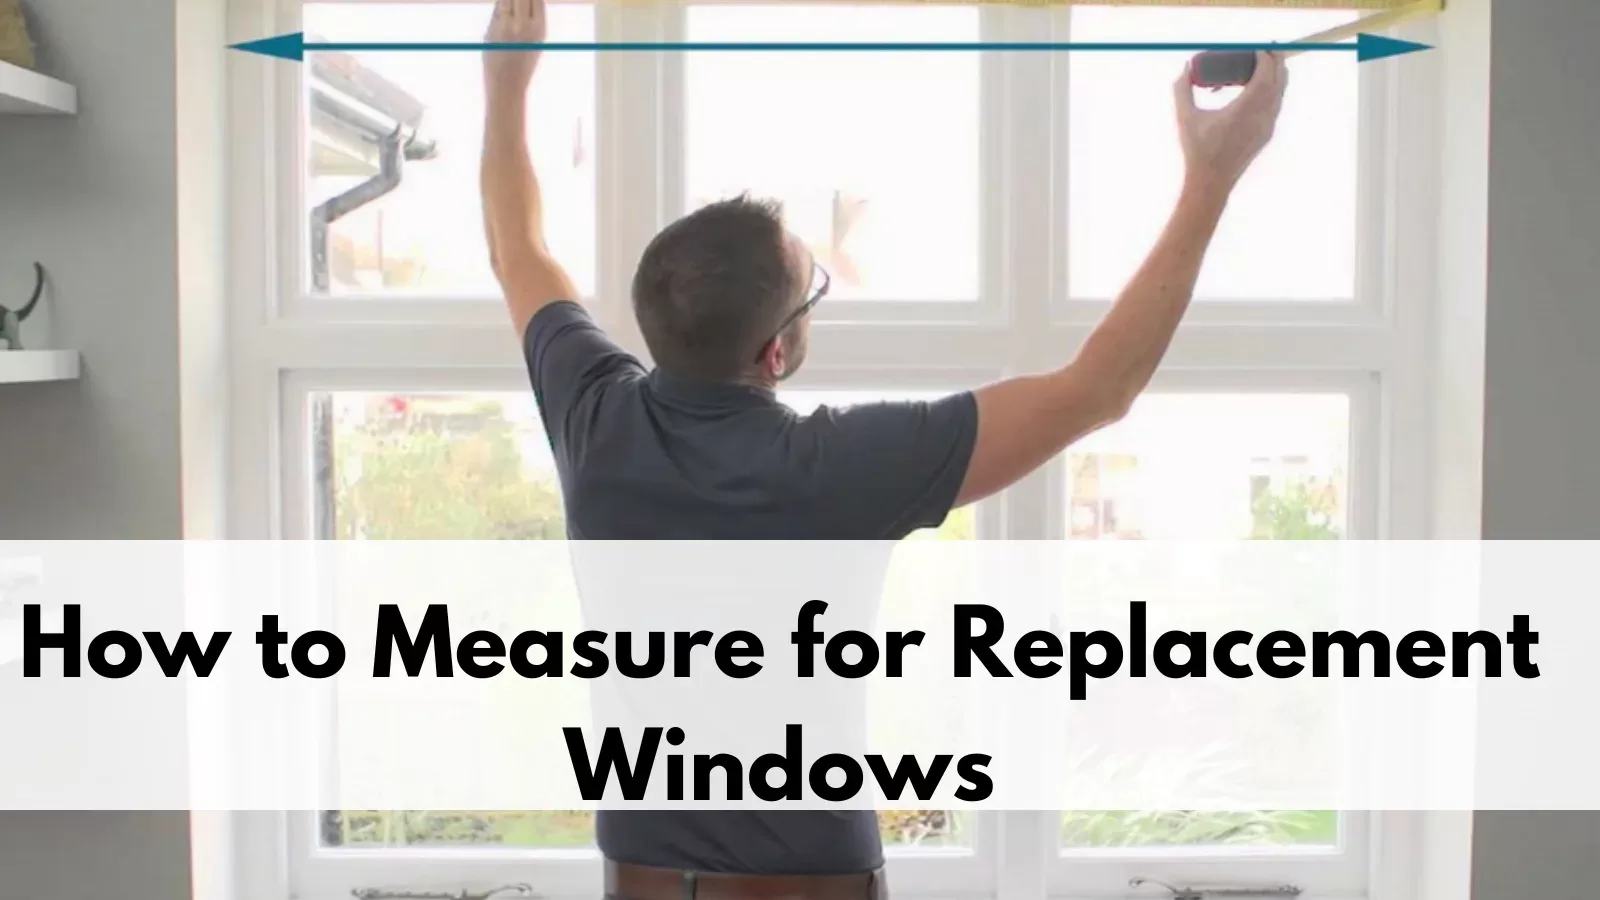
While replacing the windows of a home is a major project. It also means one gets the chance to upgrade to better quality windows that will be more efficient in terms of energy conservation and the outside look of the home as well as the general comfort of the home. However, before you experience all of the advantages that come with incorporating new windows, you should make sure that the measurements are correct. Measuring the windows properly is very important in window replacement work. Here, we discuss each possible step on how to measure for replacement windows to ensure you get the right replacement windows for your home.
Preparing for Window Measurement
However, it is worth preparing the work area before beginning the measurement step by step. Make sure all the furniture and other objects that may hinder the passage to the windows are removed. If there are any windows treatment like curtains or blinks, then they should be pulled down to allow a conservation-free view of the window frame.
It’s also a good idea to have the following tools on hand:
- Tape measure preferably with a length of not less than 6 feet.
- Pencil or pen
- Paper for recording measurements
- Level (optional)
Checking for Square, Plumb, and Level
The next step is preliminary, namely the measurement of the existing window frame, that is, to determine whether it is square, plumb, or level. This will enable you to decide if the window opening is appropriate for a normal replacement window.

To check if the window is square:
- Simply put, they down the length diagonally from the top left corner through to the bottom right corner.
- Check the width by measuring from the top right corner to the bottom left corner of the selected format.
- In this case, if the two aforementioned measurements are within a 1/4 inch of each other, then the window is square.
To check if the window is plumb (vertical):
- Position a level against the face of the next side jamb to be installed.
- If the bubble is perfectly between the two indicator lines then that means the window is at the plumb level.
To check if the window is level (horizontal):
Put the level on the sill.
When the bubble is right in the middle of the two indicator lines, the window is level.
Measuring Window Width
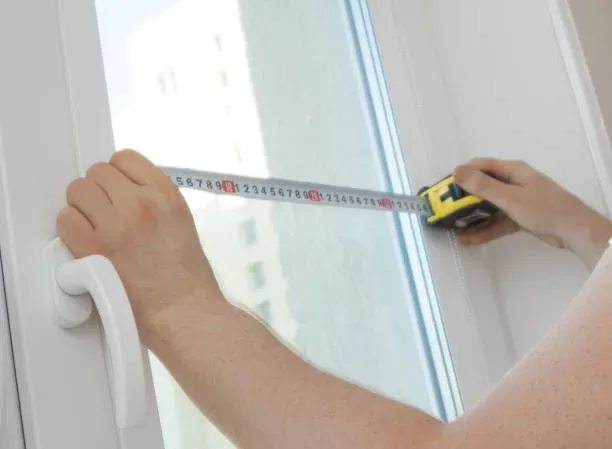
When measuring the width of a window, always measure from the inside of the left jamb to the inside of the right jamb. Take three measurements: one at the top, one in the middle, and one at the bottom of the window. Use the narrowest of the three measurements as your window width.
Here’s how to measure the width:
- Raise the window sash to expose the jamb at the bottom of the window.
- Place the tape measure horizontally between the inside of the left jamb and the inside of the right jamb at the bottom of the window.
- Close the window and measure the width near the middle of the window.
- Measure the width at the top of the window.
- Record the narrowest of the three measurements as your window width.
Measuring Window Height
To measure the height of a window, measure from the top of the sill to the top of the window opening. Take three measurements: one on the left side, one in the middle, and one on the right side. Use the shortest of the three measurements as your window height.
Here’s how to measure the height:
- Place the tape measure vertically against the left side of the window, from the top of the sill to the top of the window opening.
- Measure the height in the middle of the window.
- Measure the height on the right side of the window.
- Record the shortest of the three measurements as your window height.
Measuring Depth
The depth of the window is the distance from the outside of the wall to the inside of the window frame. This measurement is important to ensure that the replacement window will fit properly in the opening.
To measure the depth:
- Measure from the outside of the wall to the inside of the window frame at the top, middle, and bottom of the window.
- Record the narrowest of the three measurements as your window depth.
- Measuring Non-Standard Windows
If you have a window that is not a standard rectangular shape, such as a bay window, bow window, or arched window, the measurement process may vary. In these cases, it’s best to consult with a professional window installer or the manufacturer for specific instructions on how to measure your unique window.
Tips on How to Measure for Replacement Windows
Measure each window individually, even if they appear to be the same size. Slight variations can occur.
Measure to the nearest 1/8 inch for the most accurate results.
Double-check your measurements to ensure accuracy.
If you’re unsure about any aspect of the measurement process, consult with a professional window installer or the manufacturer for guidance.
Final Words
Understanding how to measure for replacement windows is essential for a successful replacement project. By following these steps and using the right tools, you can confidently order the perfect replacement windows for your home. Always measure each window individually, double-check your measurements, and consult with a professional if you have any questions or concerns. With the right replacement windows, you can enjoy improved energy efficiency, increased comfort, and enhanced curb appeal for years to come.


