
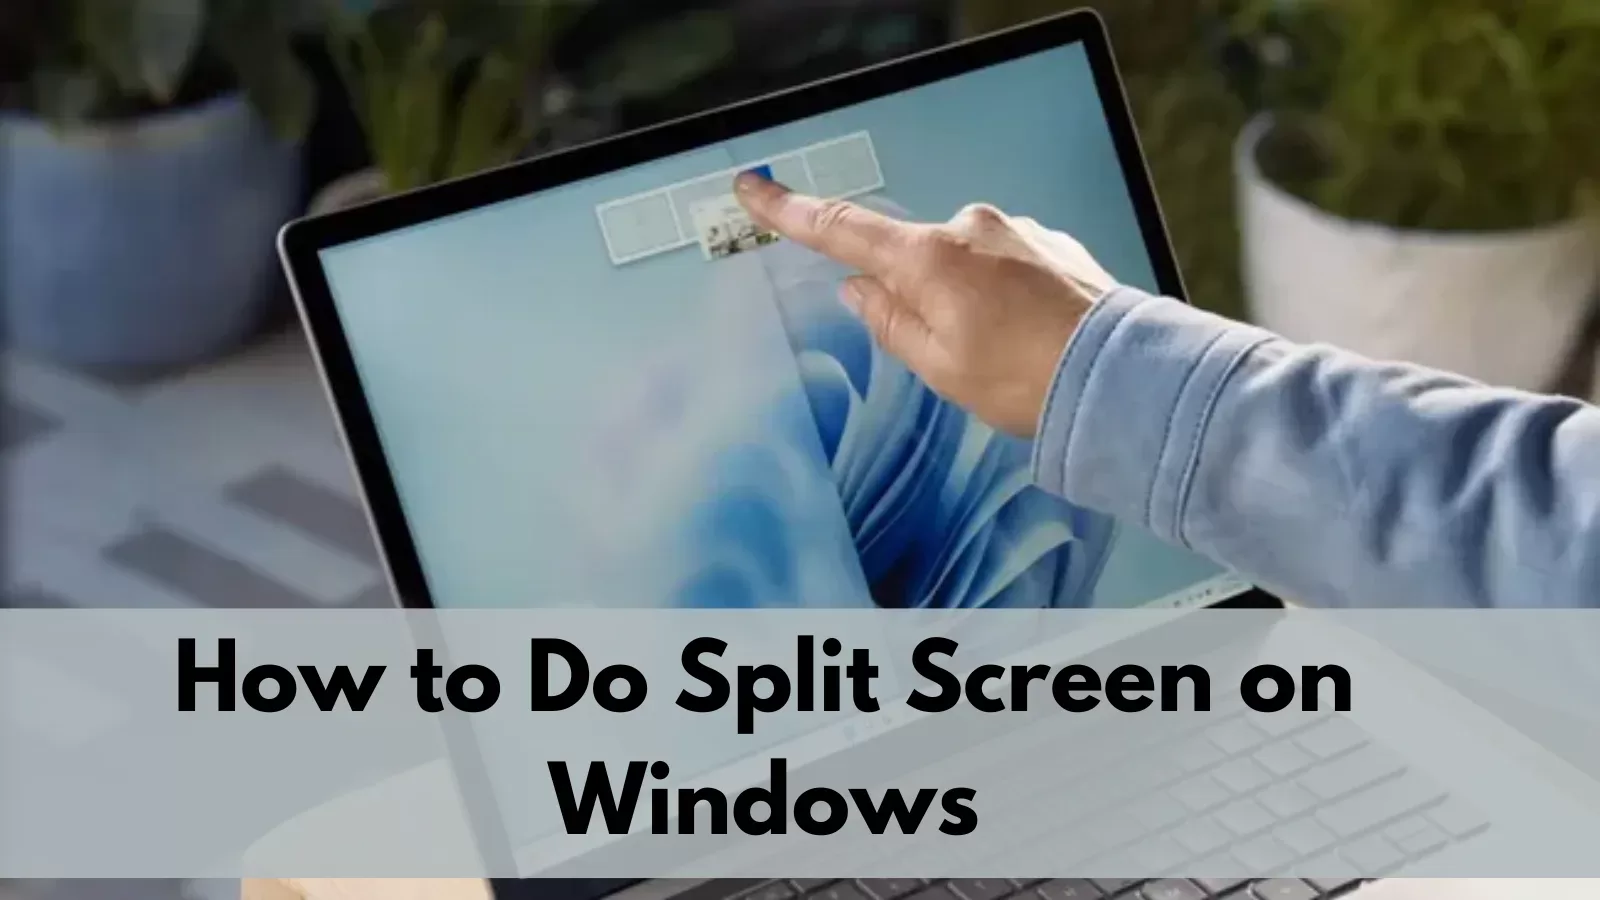
Indeed working with the split screen on Windows is one of the best ways in enhancing productivity in working. This makes it easy to work with different applications at the same time hence the efficiency of multitasking. Whether you are working on development of a project, editing documents, or watching a video and at the same time using the internet, split screen is a real lifesaver.
Here in this article, we are going to elucidate how to perform the split screen on Windows both on Windows 10 and Windows 11, and some useful hints and tips that can also be useful in such a case as far as possible.
What is Split Screen?
Split screen is an interface option where you can work on two or more programs at once and each program occupies half or a quarter of the screen. This means you are able to complete several activities in parallel and not through a sequence of opening and closing windows. As it was mentioned, it is convenient when a user has to look up certain details while he or she is editing a document or if the user wishes to watch videos as he or she is on a WEB page.
Advantages of Using the Split Screen
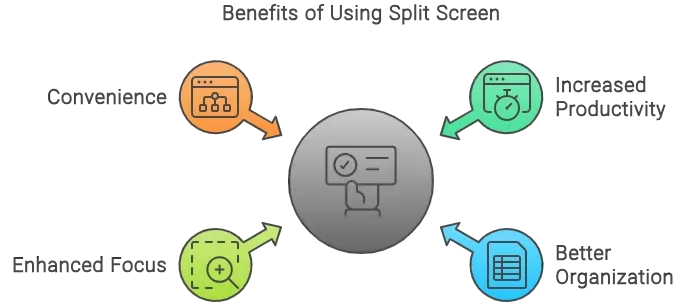
Using split screen offers numerous advantages:
• Increased Productivity: Having a glance at many applications simultaneously is far easier and considerably helps to work faster.
• Better Organization: Applications that are related do work can be opened together so that related documents are grouped together making it easier to locate them.
• Enhanced Focus: All the items you need are in front of you at a single glance; therefore, you can focus on your work more effectively without getting distracted.
• Convenience: It reduces the time you take to minimize and maximize windows hence saves your time.
How to Enable Split Screen on Windows 10
To start using split screen on Windows 10, you need to enable a feature called Snap Assist. Here’s how to do it:
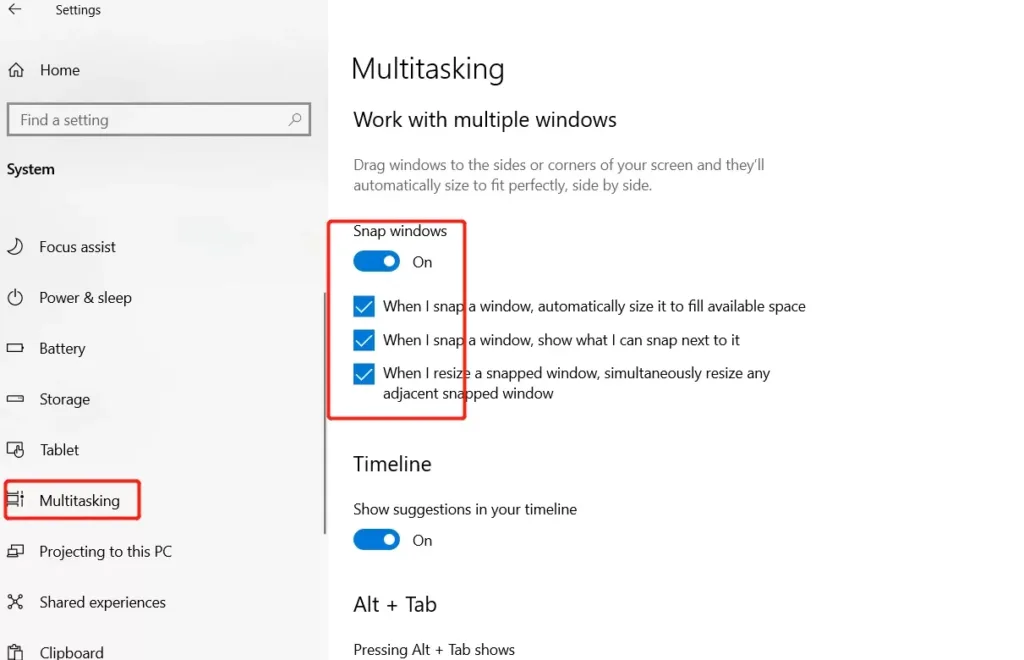
Step 1: Enable Snap Assist
- Press the Windows key + I to open the Settings menu.
- Click on System and then select Multitasking.
- Under the Snap windows section, toggle on the options for Snap Assist.
Step 2: Splitting the Screen
Once Snap Assist is enabled, you can easily split your screen:
- Open Multiple Windows: Start by opening the applications or windows you want to use.
- Drag and Snap: Click and hold the title bar of one window. Drag it to the left or right edge of the screen. When you see an outline of the window, release the mouse button. The window will snap to that side.
- Select Another Window: After snapping the first window, you will see thumbnails of your other open windows. Click on one to snap it to the other side.
Step 3: Adjusting Window Sizes
You can resize the windows by dragging the divider between them. This allows you to allocate more space to one window if needed.
If you’re interested in enhancing your Windows experience, consider disabling Windows Defender for better performance, especially when running multiple applications.
How to Split Screen on Windows 11
Windows 11 introduced new features that make split screen even easier with Snap Layouts. Here’s how to use it:
Step 1: Enable Snap Layouts
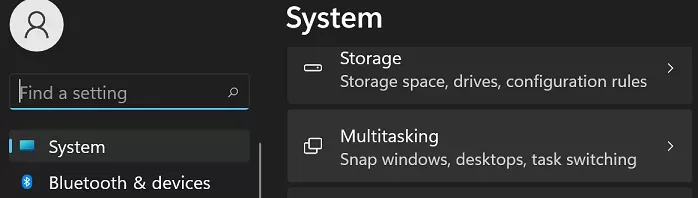
- Open the Settings by pressing Windows key + I.
- Go to System and then click on Multitasking.
- Ensure that the Snap windows toggle is turned on.

Step 2: Using Snap Layouts
- Open Your Applications: Launch the applications you want to use.
- Hover Over the Maximize Button: When you hover over the maximize button (the square icon) on any window, you will see different layout options.
- Choose a Layout: Select a layout that suits your needs. For example, you can choose a two-panel layout to split the screen in half.
- Fill the Layout: Click on the desired area of the layout to snap the current window there. Then, choose another window to fill the remaining space.
Step 3: Manual Adjustment
Just like in Windows 10, you can also manually adjust the size of the windows by dragging the edges.
For those who want to take productivity to the next level, you can turn a website into an app on your desktop for quick access while multitasking.
Tips for Effective Use of Split Screen
To make the most of split screen functionality, consider the following tips:
- Use Keyboard Shortcuts: Familiarize yourself with keyboard shortcuts like Windows key + Left/Right Arrow to quickly snap windows to either side of the screen.
- Organize Your Workspace: Keep similar applications together. For example, have your email client open next to your calendar.
- Experiment with Layouts: Try different layouts to find what works best for your workflow. Windows 11 offers more layout options, so take advantage of them.
- Utilize Larger Monitors: If you have a larger monitor, consider splitting the screen into four sections for even more productivity.
Common Issues and Troubleshooting
While using split screen, you may encounter some common issues. Here are a few troubleshooting tips:
- Windows Not Snapping: If windows are not snapping, ensure that Snap Assist is enabled in the settings.
- Windows Overlapping: If windows overlap, try adjusting the size of the windows manually or check your layout settings.
- Performance Issues: lose unnecessary programs to free up resources. If you experience persistent slowdowns, you might want to enable Windows Ultimate Performance Mode for better resource management.
Advanced Tips on How to do Split Screen on Windows
Once you are comfortable with the basics of using split screen on Windows, you can explore some advanced tips and tricks to enhance your experience even further. These techniques can help you customize your workspace and maximize your productivity.
1. Use Virtual Desktops
Windows allows you to create multiple virtual desktops. This feature can be especially useful when you want to separate different tasks or projects. Here’s how to use virtual desktops alongside split screen:
- Create a Virtual Desktop: Press Windows key + Ctrl + D to create a new virtual desktop.
- Switch Between Desktops: Use Windows key + Ctrl + Left/Right Arrow to move between your desktops.
- Open Applications in Different Desktops: You can open different applications in each virtual desktop and use split screen within those desktops.
2. Customize Your Taskbar
You can customize your taskbar to make it easier to switch between applications when using split screen. Here are a few tips:
- Pin Frequently Used Applications: Right-click on any application in the Start menu or taskbar and select Pin to taskbar. This way, you can quickly access your most-used apps while multitasking.
- Group Similar Applications: If you often use certain applications together, group them on your taskbar for easy access.
3. Utilize Snap Assist with Touchscreen Devices
If you are using a touchscreen device, you can also utilize split screen with touch gestures. Here’s how:
- Swipe from the Edge: Drag a window from the top of the screen down to snap it to one side.
- Use Touch Gestures: You can swipe between applications and use pinch gestures to resize windows.
4. Keyboard Shortcuts for Efficiency
Learning keyboard shortcuts can greatly enhance your efficiency when using split screen. Here are some essential shortcuts:
| Action | Shortcut |
| Snap window to the left | Windows key + Left Arrow |
| Snap window to the right | Windows key + Right Arrow |
| Maximize window | Windows key + Up Arrow |
| Minimize window | Windows key + Down Arrow |
| Switch between open apps | Alt + Tab |
5. Use Third-Party Applications
If you want even more control over your split screen experience, consider using third-party applications. Some popular options include:
- DisplayFusion: This tool offers advanced window management features and allows you to create custom layouts.
- AquaSnap: This application enhances the snap functionality with additional features like window tiling and snapping.
Final Words
Understanding how to do split screen on Windows can significantly enhance your productivity and make your workflow smoother. By utilizing features like Snap Assist, virtual desktops, and keyboard shortcuts, you can create a customized workspace that meets your needs. Whether you are a student, a professional, or anyone who needs to juggle multiple tasks, split screen is a powerful tool that can help you achieve more in less time.
For more advanced tips, consider exploring God Mode on Windows 11 to access hidden features that can further optimize your experience.


